
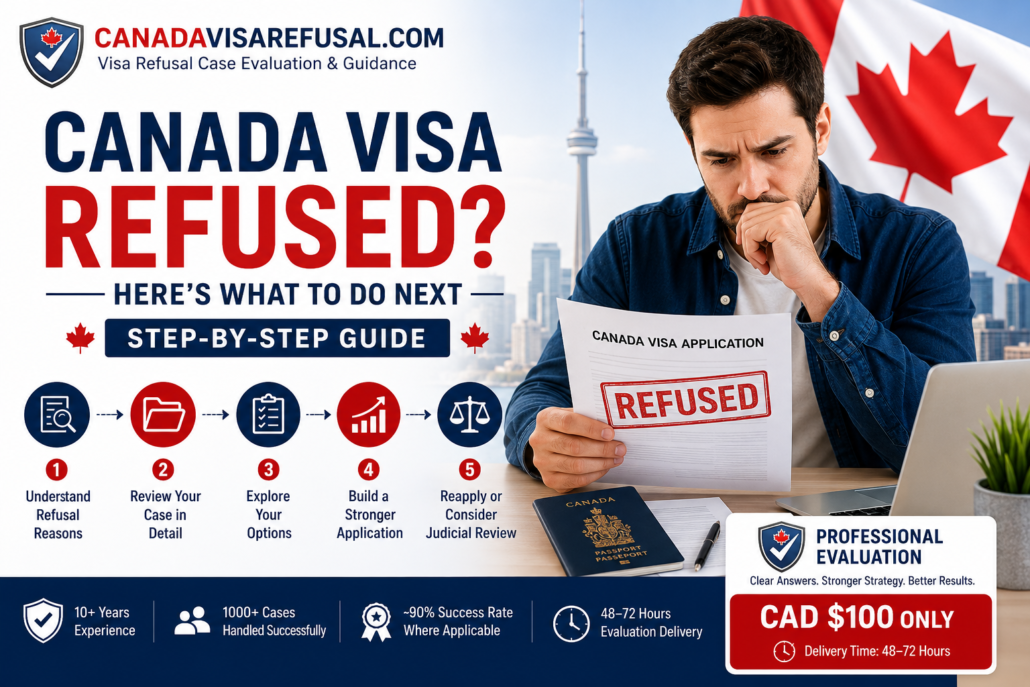
What To Do After Canada Visa Refusal (Step-by-Step Guide)
If your Canada visa application has been refused, do not panic and do not immediately submit another application.
The first step is to understand exactly why the refusal occurred. Next, obtain and review the refusal letter, identify weaknesses in your application, gather stronger evidence, and determine whether you should reapply or pursue a judicial review.
Many applicants are approved after a refusal when they address the officer’s concerns correctly.
Why Was Your Canada Visa Refused?
Every year thousands of applications for visitor visas, study permits, and work permits are refused by Immigration, Refugees and Citizenship Canada (IRCC).
A refusal does not necessarily mean you are ineligible for Canada. In many cases, the immigration officer simply believes there is insufficient evidence to approve the application.
Common Canada Visa Refusal Reasons
H4: Insufficient Financial Support
Applicants may fail to demonstrate they can afford:
- Tuition fees
- Living expenses
- Travel costs
- Emergency funds
Weak Ties to Home Country
Officers must believe you will leave Canada after your authorized stay.
Examples include:
- Unstable employment
- No property ownership
- Limited family ties
- Weak business connections
Purpose of Visit Not Convincing
Applicants often submit:
- Generic invitation letters
- Weak travel plans
- Incomplete study plans
- Unclear employment objectives
Inconsistent Information
Differences between documents can trigger concerns about credibility.
Examples include:
- Employment inconsistencies
- Missing travel history
- Contradictory statements
- Unexplained financial transactions
Step 1 – Carefully Review Your Refusal Letter
The refusal letter is your starting point.Many applicants only look at the checklist of refusal grounds. However, these checkboxes provide limited information.
You should identify:
- Every reason selected by the officer
- Supporting concerns
- Missing evidence
- Areas requiring clarification
Do Not Guess
One of the biggest mistakes applicants make is assuming they know why they were refused.Submitting another application without understanding the real concerns often leads to another refusal.
Step 2 – Request Your GCMS Notes
GCMS Notes (Global Case Management System Notes) provide detailed comments written by the immigration officer.
These notes often reveal:
- Concerns not mentioned in the refusal letter
- Credibility issues
- Financial concerns
- Questions about study or travel intentions
- Risk factors identified during assessment
Why GCMS Notes Matter
GCMS notes frequently uncover the true reasons behind a refusal. In many cases, applicants discover that the officer’s concerns differ significantly from what they initially believed.
Step 3 – Determine Your Best Option
Once the refusal reasons are fully understood, you must decide on the best path forward.
Option 1 – Reapply
Reapplication may be appropriate when:
- Missing documents can be provided
- Financial evidence can be strengthened
- Employment evidence can be improved
- A stronger explanation letter can be prepared
Best For
- Visitor visa refusals
- Study permit refusals
- Work permit refusals involving documentation weaknesses
Option 2 – Judicial Review
A judicial review involves asking the Federal Court of Canada to examine the officer’s decision.
This option may be appropriate when:
- The officer made an unreasonable decision
- Evidence was ignored
- Legal errors occurred
- Procedural fairness concerns exist
Important
Judicial review is a legal process and should be assessed by an experienced immigration lawyer.
Step 4 – Build a Stronger Application
A successful reapplication requires more than simply uploading the same documents again.
Strengthen Your Financial Profile
Provide:
- Updated bank statements
- Employment income records
- Tax returns
- Business documents
- Sponsor documentation (if applicable)
Strengthen Home-Country Ties
Show evidence of:
- Employment
- Business ownership
- Family responsibilities
- Property ownership
- Educational commitments
Improve Your Supporting Documents
Examples include:
- Detailed travel itineraries
- Strong invitation letters
- Comprehensive study plans
- Employer support letters
- Clear explanation letters
Step 5 – Prepare a Detailed Explanation Letter
An explanation letter should directly address every concern raised by the immigration officer.
A strong letter:
- Acknowledges refusal reasons
- Explains misunderstandings
- Provides new evidence
- Demonstrates compliance intentions
- Presents a logical case for approval
Avoid Emotional Arguments
Statements such as:
- “I really want to visit Canada.”
- “It is unfair.”
- “Please give me another chance.”
are generally ineffective.
Focus on evidence, facts, and documentation.

